

Inspect a moment
Drag the playhead along the ruler, or click the current-time value and enter a time. The time-unit control switches between seconds, milliseconds, and frames without changing the animation. PressSpace to play or pause.
Make motion faster or slower
Drag keyframes closer together to speed up the change between them, or farther apart to slow it down. Select several keyframes to move them together. To stretch a layer’s animation, drag an edge of its animation bar on the timeline. Drag the middle of the bar to move its keyframes together.Change acceleration with easing
Select the interval between two keyframes to edit its easing. Linear gives an even rate of change. Adjust the curve to ease into or out of the movement. To reuse a curve, choose Copy easing, select a destination interval, then choose Paste easing.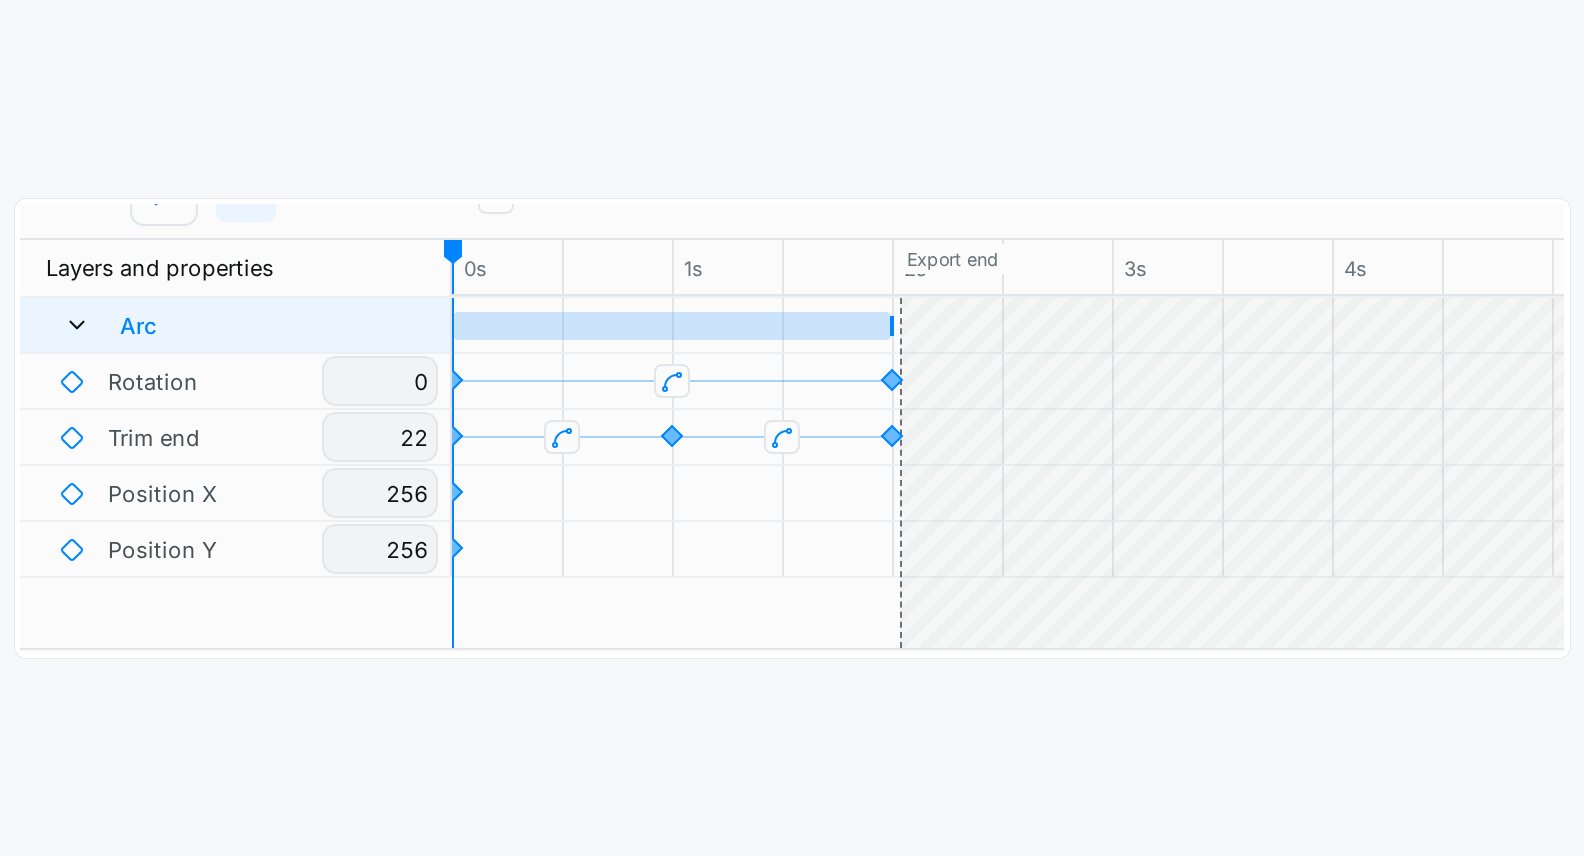
Diamonds mark keyframes; controls between them edit easing.
Set the animation’s duration
Deselect layers and edit Seconds in the Animation panel, or edit the export-duration value on the timeline. Keyframes beyond this duration are left out of the export; extend it to include them.Make a returning loop
Add a later Position keyframe with the same value as the first, then set the duration to end at that return. Play the animation and adjust the timing or easing if the end-to-start join pauses or jumps. The playback Loop control repeats the preview. It does not make the motion seamless. To repeat one property’s keyframes, use Loop in its context menu, or Ping-pong to alternate forward and backward motion. Check the loop in the destination player as well.Transitions
Select a layer or group. In Properties, choose Add appearance / disappearance, select a preset, and adjust Start, Duration, and the preset controls. Use Delete transition to remove it. To copy a transition, select its clip on the timeline and press⌘/Ctrl + C. Select the destination layer, move the playhead to the paste time, and press ⌘/Ctrl + V. The direction, duration, and easing are copied; scale transitions use the destination’s scale center.
Unlock the destination before pasting. A layer supports 64 transitions; remove an unneeded one if it reaches the limit. For a timeline range error, move the playhead earlier and paste again; see Animation limits.